S3 Security Lab Notes: IP Lock
This lab demonstrates how to create a public S3 bucket and apply IP-based policies to restrict access to specific IP address ranges. This simulates a common real-world scenario where companies expose internal tools or data only to their corporate network, blocking access from the rest of the internet.
IP-based bucket policies are commonly used for:
- Admin Dashboards: Restrict access to monitoring tools to corporate office IPs
- CI/CD Artifacts: Allow only build servers (known IPs) to access deployment packages
- Data Exports: Lock down sensitive reports to specific VPN exit IPs
- Static Website Assets: Combined with CloudFront, restrict origin access to CDN IPs only
- Backup Storage: Ensure only on-premise backup systems can write to archive buckets
Phase 1: Creating a Public Bucket
Creating the bucket with a timestamp-based unique name:
$TIMESTAMP = [int][double]::Parse((Get-Date -UFormat %s))
$BUCKET_NAME = "lab-2-ip-lock-$TIMESTAMP"
$env:BUCKET_NAME = $BUCKET_NAME
aws s3 mb "s3://${env:BUCKET_NAME}" --region eu-north-1 Disable Block Public Access:
aws s3api put-public-access-block `
    --bucket $env:BUCKET_NAME `
    --public-access-block-configuration "BlockPublicAcls=false,IgnorePublicAcls=false,BlockPublicPolicy=false,RestrictPublicBuckets=false" `
    --region eu-north-1
Create a test file representing sensitive internal data that we'll use to verify access controls:
$testContent = @"
CONFIDENTIAL - INTERNAL USE ONLY
Q4 2025 Financial Projections

Revenue Forecast: $4.2M
Operating Costs: $2.8M
Projected Profit: $1.4M

Access Level: Corporate Office Only
"@
Save the content to a file:
Set-Content -Path "internal-report.txt" -Value $testContentUpload the file to S3:
aws s3 cp internal-report.txt "s3://${env:BUCKET_NAME}/internal-report.txt" --region eu-north-1
Applying a Fully Public Policy
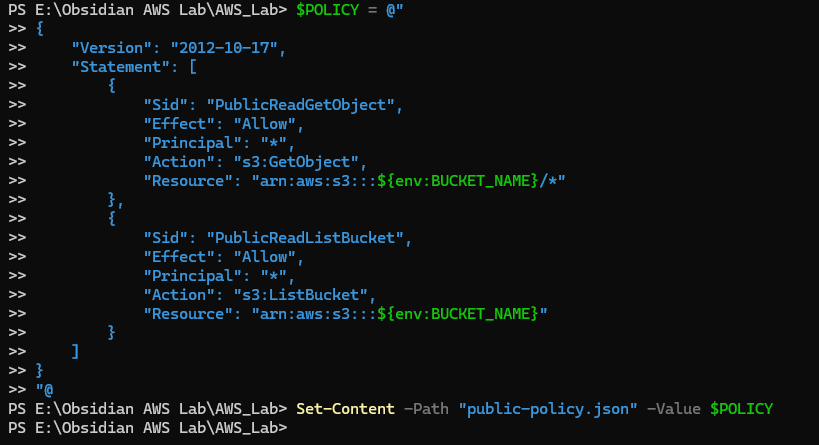
Next, apply a fully public policy to establish our baseline "before" state. This policy grants anyone on the internet read access to the bucket.
Policy Breakdown:
Principal: "*"= Anyone (authenticated or not)s3:GetObject= Permission to download filess3:ListBucket= Permission to list files in the bucket- No
Conditionblock = No restrictions whatsoever
{
    "Version": "2012-10-17",
    "Statement": [
        {
            "Sid": "PublicReadGetObject",
            "Effect": "Allow",
            "Principal": "*",
            "Action": "s3:GetObject",
            "Resource": "arn:aws:s3:::lab-2-ip-lock-1762466733/*"
        },
        {
            "Sid": "PublicReadListBucket",
            "Effect": "Allow",
            "Principal": "*",
            "Action": "s3:ListBucket",
            "Resource": "arn:aws:s3:::lab-2-ip-lock-1762466733"
        }
    ]
}
Apply the policy to the bucket:
aws s3api put-bucket-policy --bucket $env:BUCKET_NAME --policy file://public-policy.json --region eu-north-1Important: The policy has two statements because GetObject and ListBucket operate on different resource types:
GetObjectwith resourcearn:aws:s3:::bucket/*(objects)ListBucketwith resourcearn:aws:s3:::bucket(bucket itself)
You cannot combine these into a single statement due to the different resource ARNs. ListBucket operates on the bucket, while GetObject operates on objects.
Verifying Public Access
Test public access by retrieving the file via its public URL:
$PUBLIC_URL = "https://${env:BUCKET_NAME}.s3.eu-north-1.amazonaws.com/internal-report.txt"
curl $PUBLIC_URL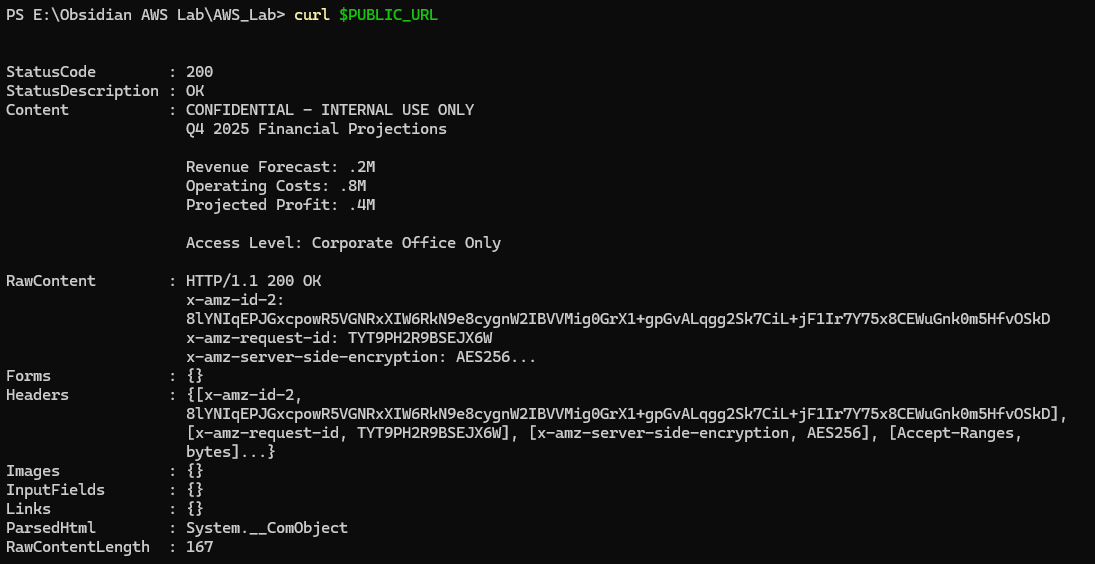
The bucket is now wide open to the entire internet. Anyone with the URL can read the data. In Phase 2, we'll fix this using an IP-based condition.
Phase 2: Applying the IP-Restricted Policy
First, determine your IP address to create a whitelist. Then, we'll test from a different internet connection to verify that the policy correctly denies access.
To determine your IP address:
$MY_IP = (Invoke-RestMethod -Uri "https://ifconfig.me/ip" -TimeoutSec 10).Trim()
$env:MY_IP = $MY_IP
Write-Host $env:MY_IP
Set-Content -Path "my-ip.txt" -Value $env:MY_IP
Creating an IP-Restricted Policy
Create an IP-restricted policy with a Condition block. This policy says: "Allow access only if the request comes from my specific IP address."
Understanding the Condition Block:
"Condition": {
    "IpAddress": {
        "aws:SourceIp": "203.0.113.42/32"
    }
}IpAddress: Condition operator for IP-based checksaws:SourceIp: AWS condition key containing the requester's IP/32: CIDR notation meaning "exactly this one IP" (no range)
Understanding CIDR Notation:
CIDR (Classless Inter-Domain Routing) notation specifies IP address ranges:
/32= Single IP (203.0.113.42 only)/24= 256 IPs (203.0.113.0 through 203.0.113.255)/16= 65,536 IPs (203.0.0.0 through 203.0.255.255)/8= 16.7 million IPs
For this lab, /32 means we're allowing exactly one IP address.
Complete IP-Restricted Policy
{
    "Version": "2012-10-17",
    "Statement": [
        {
            "Sid": "IPRestrictedGetObject",
            "Effect": "Allow",
            "Principal": "*",
            "Action": "s3:GetObject",
            "Resource": "arn:aws:s3:::lab-2-ip-lock-1762466733/*",
            "Condition": {
                "IpAddress": {
                    "aws:SourceIp": "84.***.***.***32"
                }
            }
        },
        {
            "Sid": "IPRestrictedListBucket",
            "Effect": "Allow",
            "Principal": "*",
            "Action": "s3:ListBucket",
            "Resource": "arn:aws:s3:::lab-2-ip-lock-1762466733",
            "Condition": {
                "IpAddress": {
                    "aws:SourceIp": "84.***.***.***32"
                }
            }
        }
    ]
}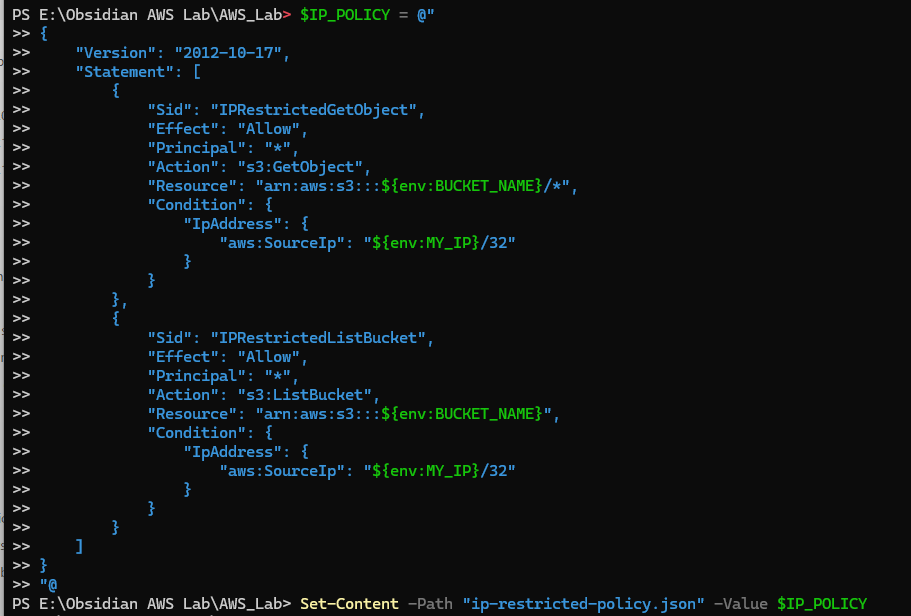
The policy has two separate statements with identical conditions:
- GetObject statement: Allows downloading files (
Resource: bucket/*) - ListBucket statement: Allows listing bucket contents (
Resource: bucket)
You cannot combine these into one statement because they operate on different resource types.
*Why use `Principal: ""` with IP restrictions?**
This pattern is standard practice for scenarios requiring anonymous access from specific networks:
- Static website hosting (where you want anonymous access, but only from certain networks)
- CDN origin protection (allow CloudFront, block everyone else)
- Shared public resources with geographic restrictions
Applying the Secure Policy
aws s3api put-bucket-policy `
    --bucket $env:BUCKET_NAME `
    --policy file://ip-restricted-policy.json `
    --region eu-north-1
Phase 3: Testing the IP Restriction
Test from your whitelisted IP first. Since the request originates from your whitelisted IP, it should succeed:
$PUBLIC_URL = "https://${env:BUCKET_NAME}.s3.eu-north-1.amazonaws.com/internal-report.txt"
curl $PUBLIC_URL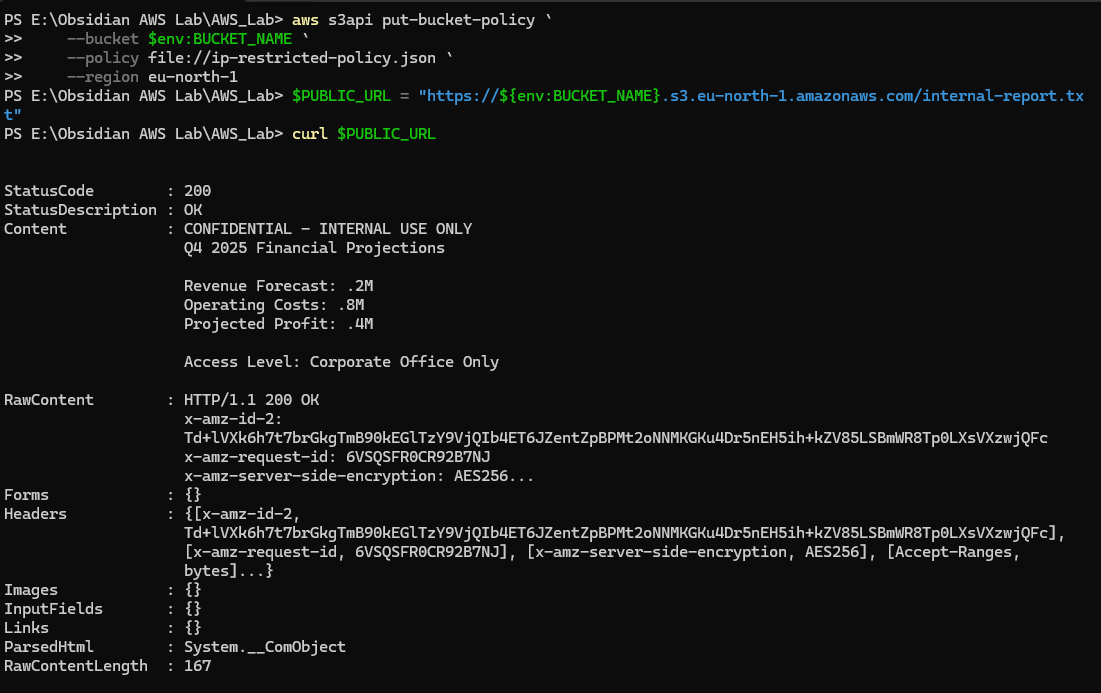
Now test from a different internet connection (e.g., mobile hotspot or VPN). This request should be denied:
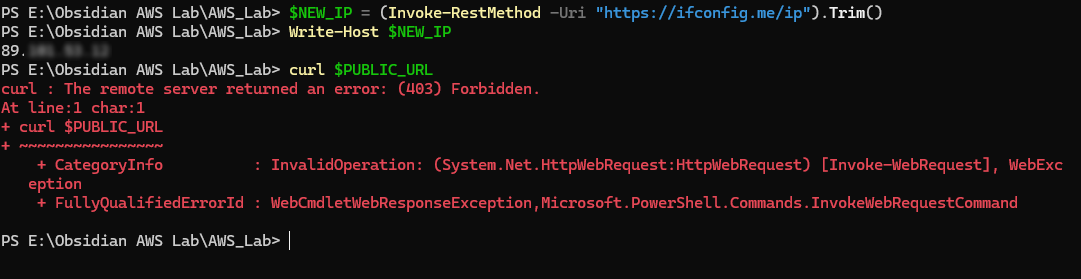
Access from the non-whitelisted IP is successfully blocked. The IP-based policy is working as intended.
Phase 4: Cleanup
Remove the bucket and all its contents:
aws s3 rb "s3://${env:BUCKET_NAME}" --region eu-north-1 --force
Lessons Learned
Core Concepts
1. Condition Blocks:
The Condition block is your most flexible security tool. You can restrict access by:
- IP address (
aws:SourceIp) - Time of day (
aws:CurrentTime) - MFA status (
aws:MultiFactorAuthPresent) - User agent (
aws:UserAgent) - Encryption status (
s3:x-amz-server-side-encryption) - And dozens more
2. CIDR Notation:
/32= Single IP (203.0.113.42)/24= 256 IPs (203.0.113.0-255)/16= 65,536 IPs/8= 16.7 million IPs
3. GetObject vs ListBucket:
These are different permissions operating on different resource types:
s3:GetObject→ Resource:arn:aws:s3:::bucket/*(objects)s3:ListBucket→ Resource:arn:aws:s3:::bucket(bucket itself)
*4. Principal: "" with Conditions:**
This pattern is legitimate for specific use cases:
- Static website hosting (public, but geographically restricted)
- CDN origin protection (CloudFront only)
- Shared public data with network restrictions
Additional Resources
- AWS Documentation: S3 Bucket Policy Examples
- AWS Documentation: Condition Keys for S3